
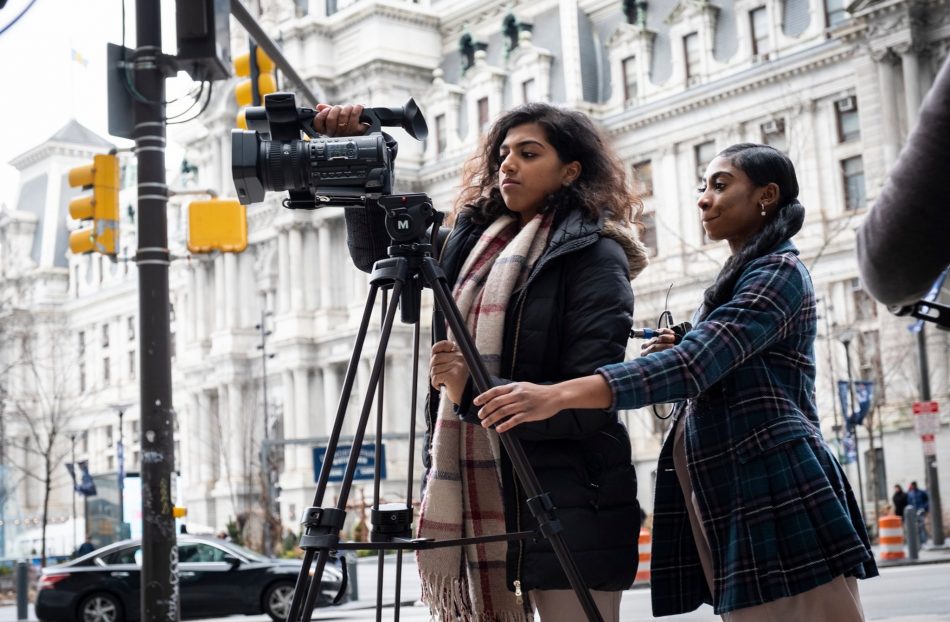

This section will focus on pictures/video/photography standards.
Note- We are using basic standards applied by Reuters. Refrefernces to their organization will be highlighted in bold text with appropriate links.
One of our objectives is to teach you advanced video news reporting techniques. In this course we will advance your understanding of the elements that make up a video news story and build your production and storytelling skill sets. You will apply these skills to research, produce, write, shot, and video news stories. Specifically, you will develop your broadcast writing skills, expand your video news reporting skills, understand field lighting and audio recording, and strengthen your abilities to produce a journalistic video narrative.
The design of this course is based on the assumption that you understand the development of video story ideas, the concept of video narrative structures, and the process of basic video-journalism reporting and editing.
All written assignments in this course will be graded for grammar, spelling, punctuation, use of language and appropriate style based on the Associated Press Broadcast style and grammar standards. Note that this applies to scripts for all video formats including tracked pieces (contain reporter narration) and nat-sound/documentary-style pieces.
Scripts for all formats must be submitted to your instructor and/or designated faculty editor for review.
You will expand your knowledge of digital non-linear editing in this course. As you have discovered, the Adobe Premiere Pro system has remarkable potential. It will require time for you to become more proficient on the system. Nothing can replace spending time learning to operate this system. Previous experience has shown that students who spend the time learning the equipment in the early stages of the course produce much higher quality work on the later assignments.
This course should help you develop your reporting abilities, thus improving the quality of the information conveyed to the viewer. Some emphasis will be placed on your abilities to critically assess your own work and that of others.
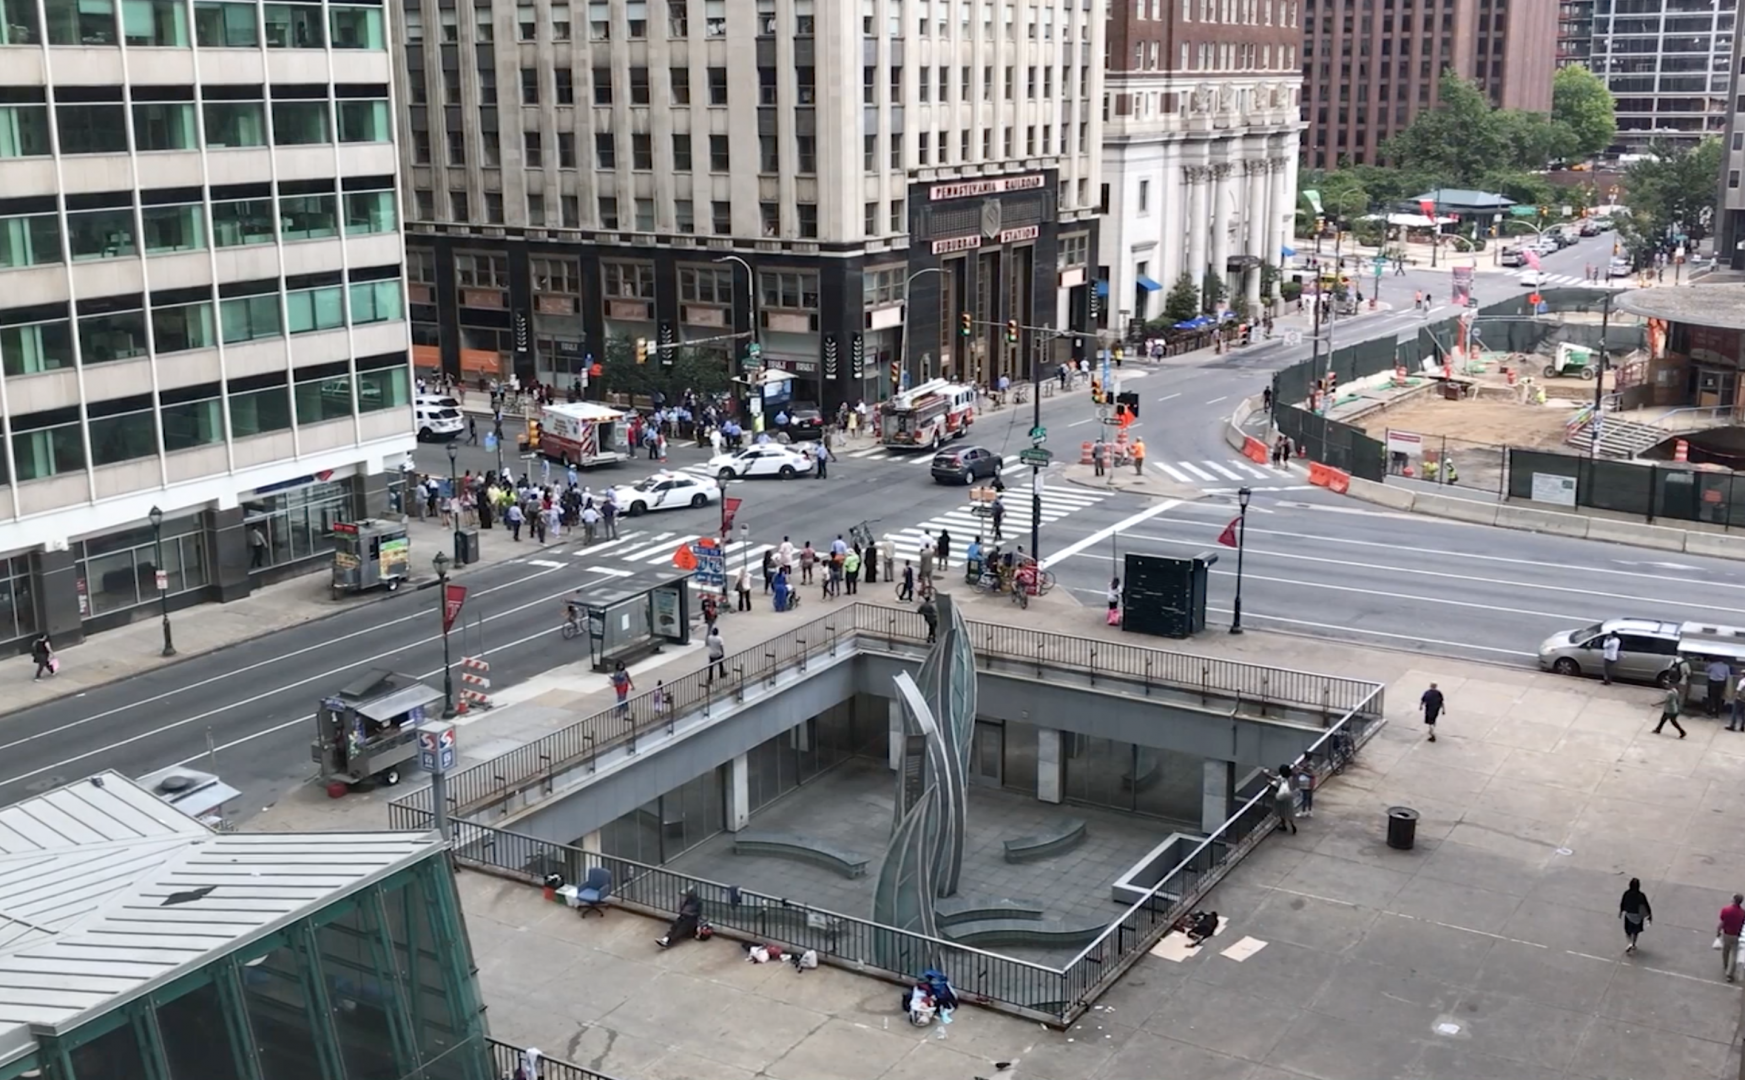
For demonstration purposes, we will use an automobile accident documented by Neil Ortiz. This video was shot at 16th and JFK Blvd and later used by Fox 29 News.
Anchor Shots: Telling your visual story with three main anchor points
From a visual perspective you should aim to tell stories with a beginning, middle and end.
Beginning- Establishing Shot: Always shoot a wide or medium shot which captures the essence of your story as soon as you arrive and set up at a scene or during the peak of activity. This is important because as time passes while you are covering the story, these shots will “go away.” Crowds will dissipate. At some point the the peak of action will be gone. Below are two possible opening/establishing shots for this story.
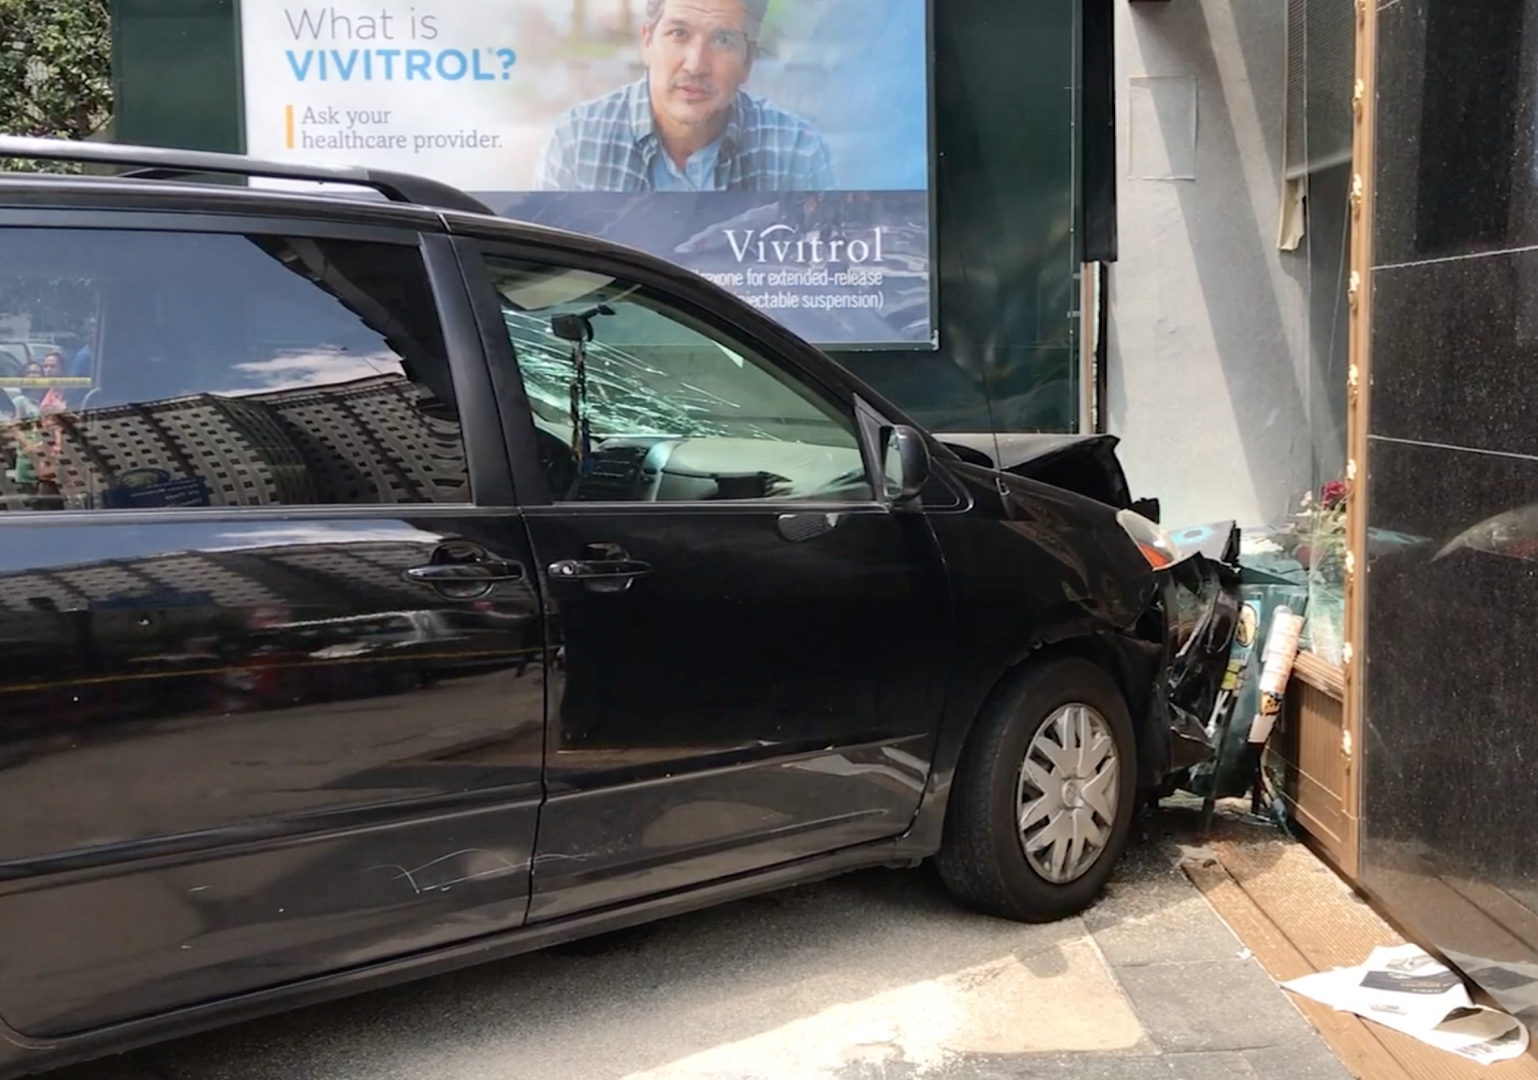
People should always be in your shots unless there is specific reason to show an inanimate object (eg: the story is about an abandoned building or vacant lot with trash. Another example is the vehicle shown below. I purposely omitted a shot of a possible driver because they didn’t appear intoxicated and I did not know if they were the driver at the time. I got a shot of her, but did not use it at the time).

Middle- Action Shots: Tell your story with the use of action-based imagery. Alternate wide, medium and wide shots.
Tip- SHOW PROPLE DOING WHAT THEY DO!


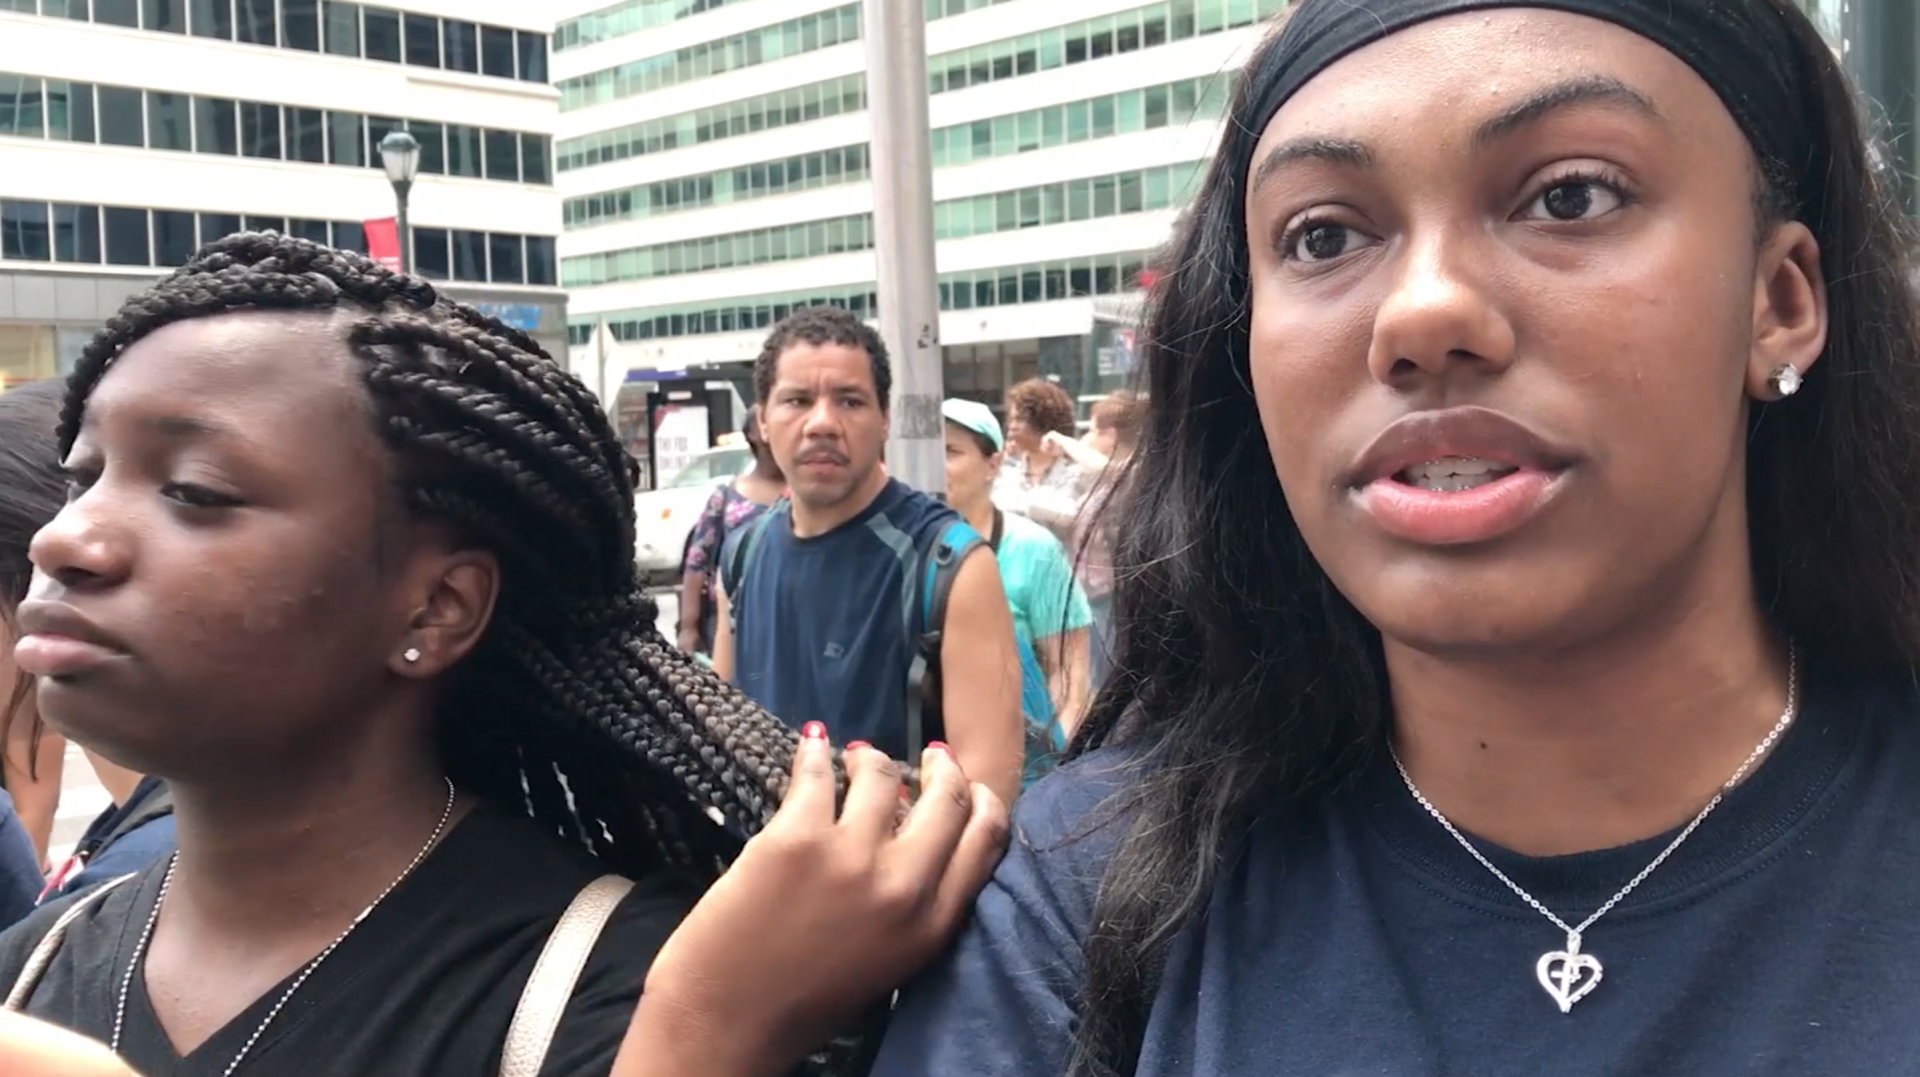
Interviews: Set ups and Framing- Always shoot a setup shot of interview subjects before or after interviewing them. Show them doing something that relates to why we are hearing from them. Below is a shot of an accident witness who was the student of an accident victim.
Setup shots of interview subject speaking with police.


End your story with shots which build on and demonstrate your overall narrative.

Basic Videography Expectations, Rules:
#1: Alternate shots- Wide, Medium, Tight
#2: Hold steady shots for 15 seconds each
#3: Rule of Thirds: This is a Big One!
Option 1- Frame your interview subject on the left third of the frame while they are looking into the frame such as pictured below…

Option 2- Frame your interview subject on the right third of the frame while they are looking into the frame such as pictured below…
-Do not have your interview subject look directly at the camera or speak directly to the audience. They are interview subjects- not hosts.
-Video should be recorded/produced using a horizontal frame rather than vertical.
-Sit-down interviews should be shot with a tripod.
Here is a great video elaborating on the Rule of Thirds
Lower Thirds: While shooting interviews, bear in mind that you will need to use lower thirds in production. This will include the names of your subjects and titles relevant to your stories.
Leave enough room in your framing for this information and ask your subjects for this information on camera so that you’ll have accurate info.
Our lower thirds and instructions on editing can be found here. More info can be found in this editing tutorial.
Below is a screenshot of the interview shown earlier with Fox 29’s lower third.
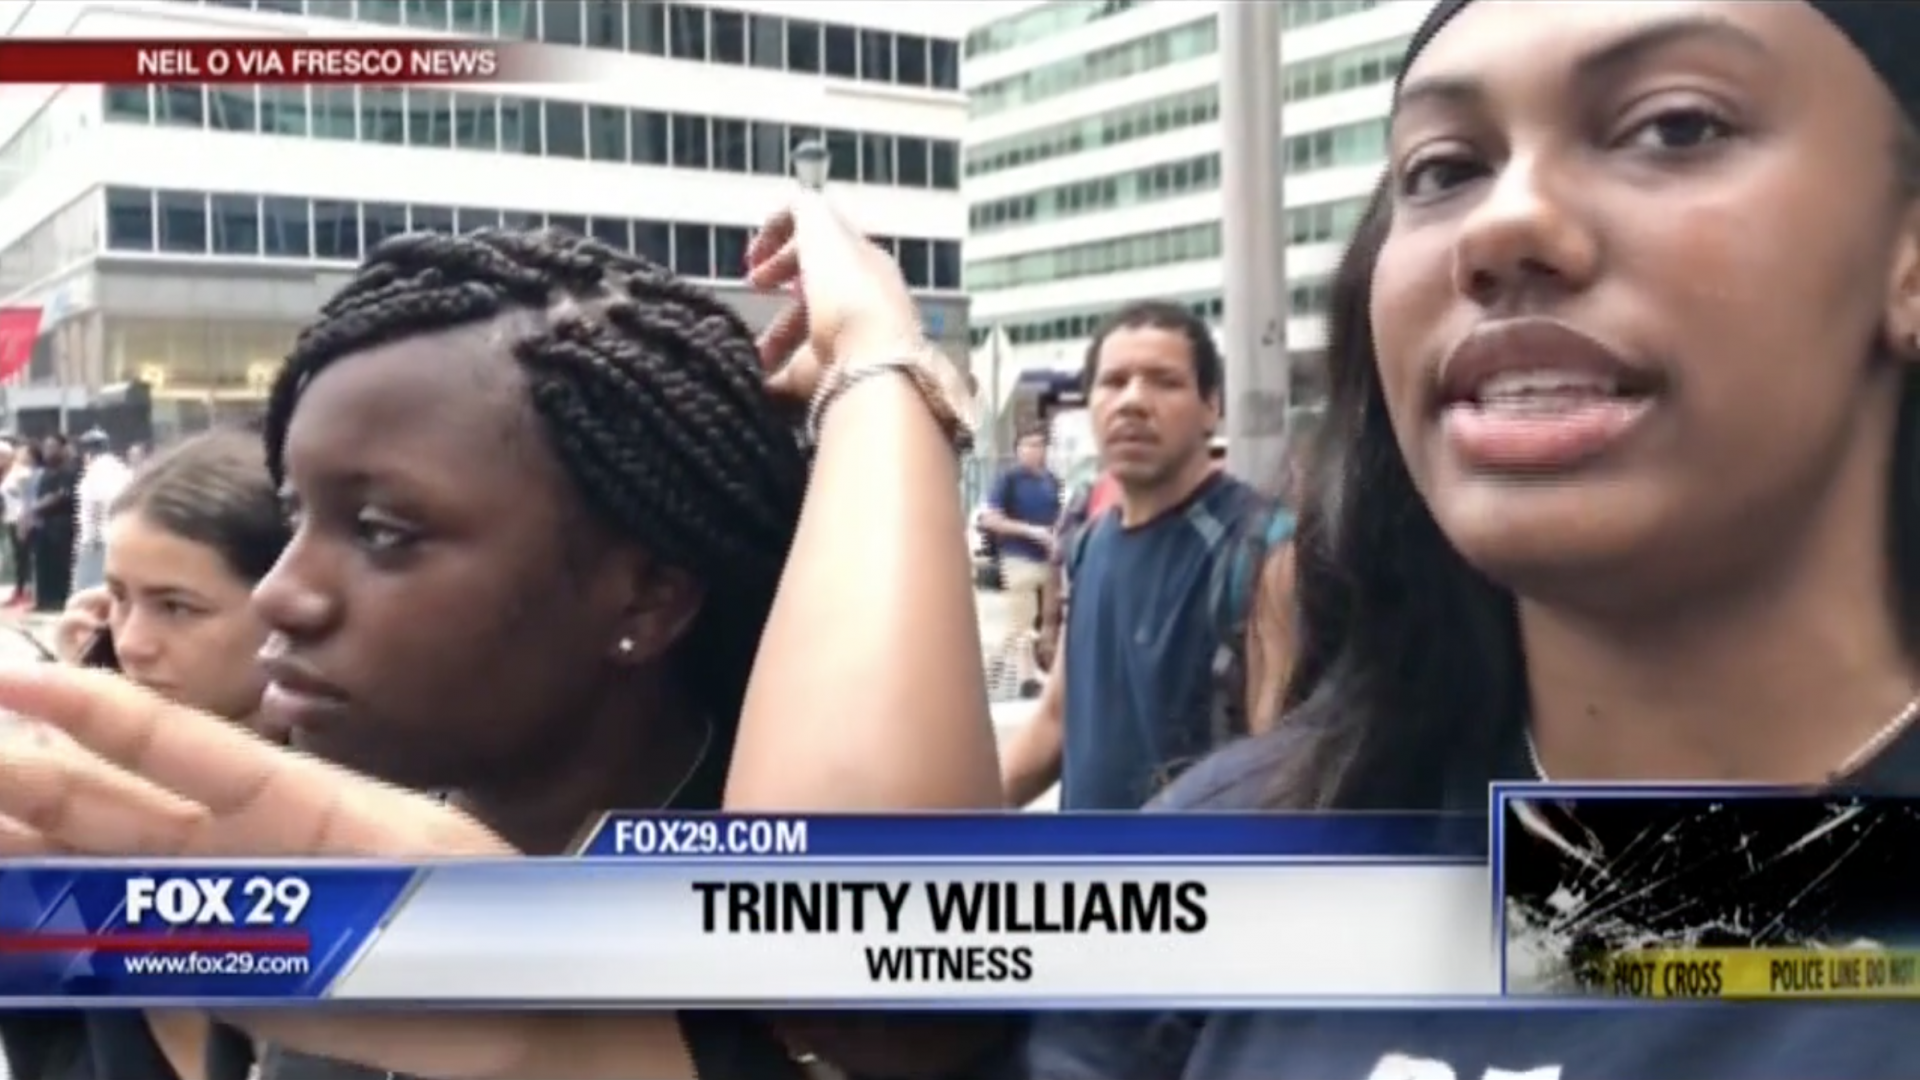
Now see one of our lower thirds applied to one of our PN stories. While exact placement and sizing is a subjective call, it should resemble what you is shown below.

Documentary Formats: These are sometimes called “nat sound pieces” or “sound portraits.” You’ll often see this style in Vice and Vox. Since this format generally only has interviews without reporter narration, it is extremely important to break up interviews with brief periods of action shots accompanied by natural sound.
Here is one great example…
Check out this post for more tips, such as covering meetings.
Be the first to comment